Getting started
Sign up
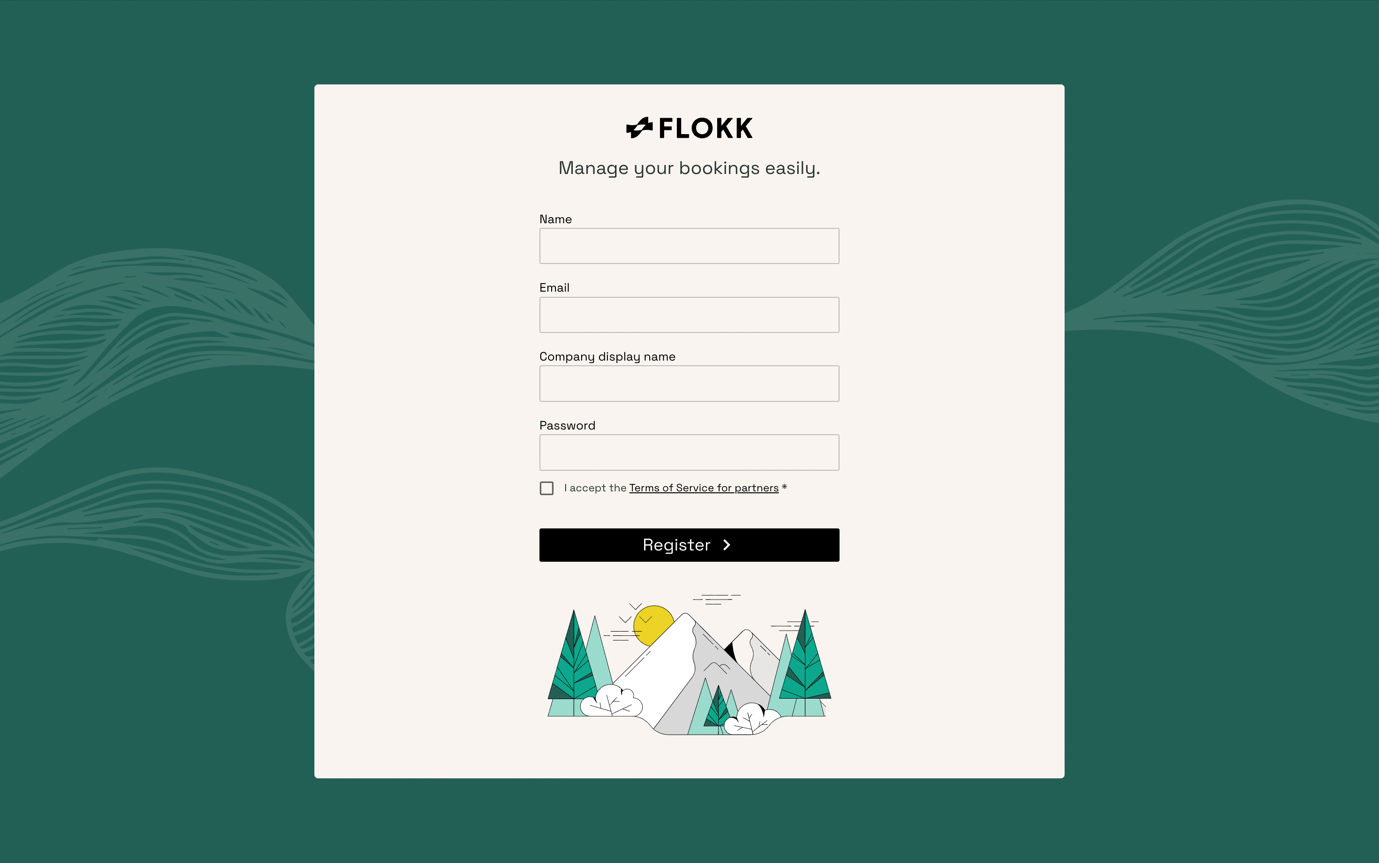
- Go to the sign up page
- Fill in your details
- Name: Enter your full name.
- Email: Provide your email address. You'll have the ability to specify a support email for your business later.
- Company Display Name: Enter the name you want your customers to see. This doesn't have to match your company's legal name. The display name also determines the URL of your booking link, which you can preview below the input. You can change your company's display name at any point, but won't be able to change the URL – we can change it for you however if you contact us.
- Password: Create a secure password for your account. This needs to be at least 8 characters
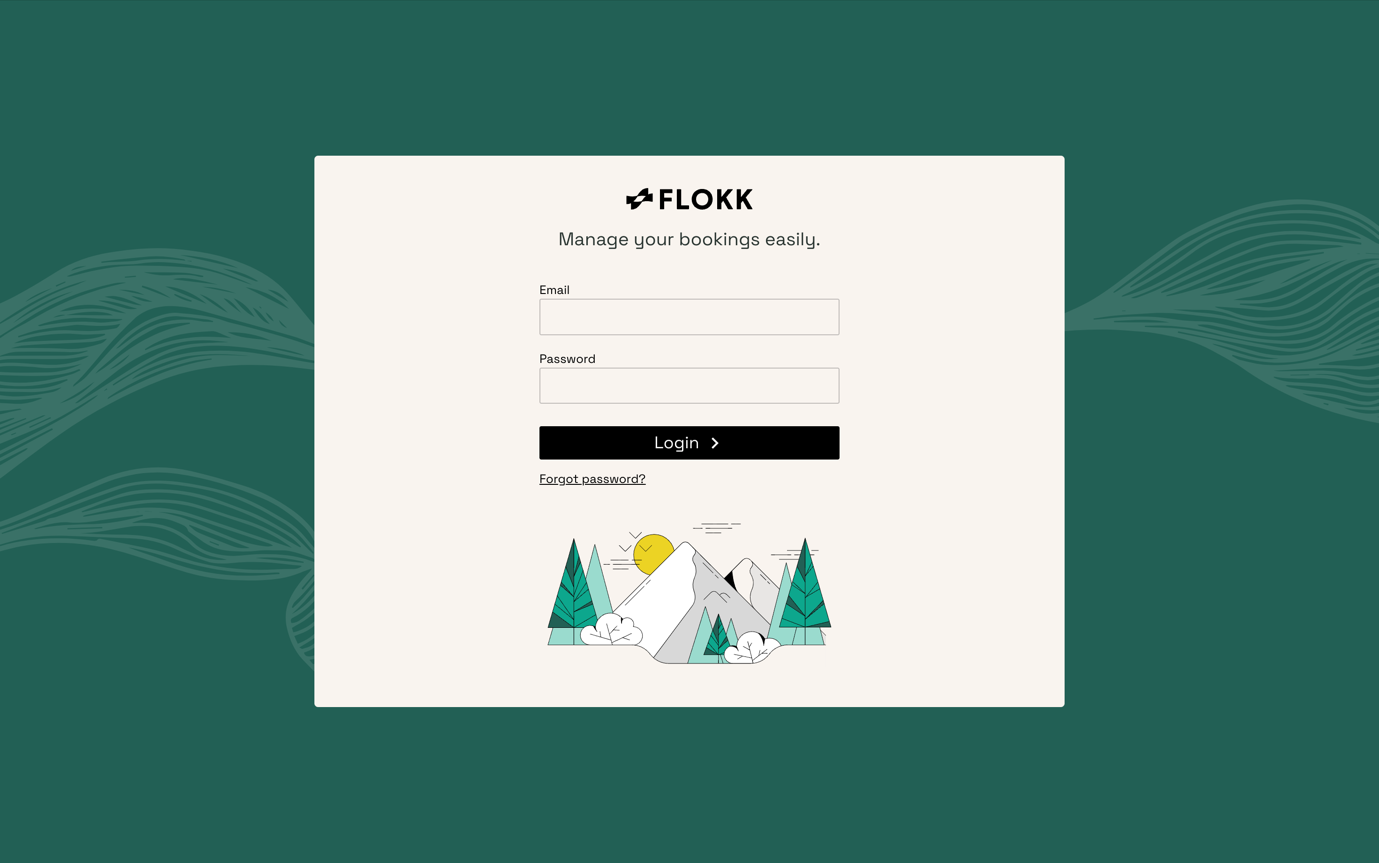
Log in
Set up your account for ticket sales
After registering, follow these steps to get started. Once you log into the dashboard, you'll see a "Let's get you set up!" checklist to guide you through the initial setup process.
1. Fill out company details:
- On the dashboard, click on the "Fill out company details" task in the checklist.
- This will navigate you to the Company details section under Administration.
- Enter your company's basic information such as:
- Company Name: This should be your legal business name for official purposes.
- Display Name: This is the name visible to customers during the booking process, ensuring they recognize your brand.
- Logo: Adding your logo helps in brand recognition during the booking flow.
- Tax Number and Address: These are necessary for invoicing purposes between Flokk and your company.
- Contact Email: This ensures that customers and Flokk can reach you for any inquiries or notifications.
- Click Save to store your details.
2. Fill out payment details
- Click on the "Fill out payment details" task in the checklist.
- Follow the steps to set up your payment gateway through Stripe.
- Stripe is a reliable and secure payment gateway that allows you to accept payments effortlessly. It supports various payment methods and currencies, ensuring a smooth payment experience for your customers.
- Provide the necessary payment information to manage transactions.
- Ensure all required fields are completed and click Save.
3. Add and publish a service
- Click on the "Add and publish a service" task in the checklist.
- To find out more about services and what they do, go to “How do I manage services?”
- Follow the steps detailed in the adding a new service guide to set up your service.
- Fill in the relevant details for your service, including ticket types, timeslots, and extras.
- Once everything is set up, click Publish changes to make your service live for customers.
4. Share/Embed your booking URL
- Once your service is published, you'll want to share or embed your booking URL.
- You can find detailed information on how to share your booking link. Follow this guide for step-by-step instructions.